How to scan big pictures

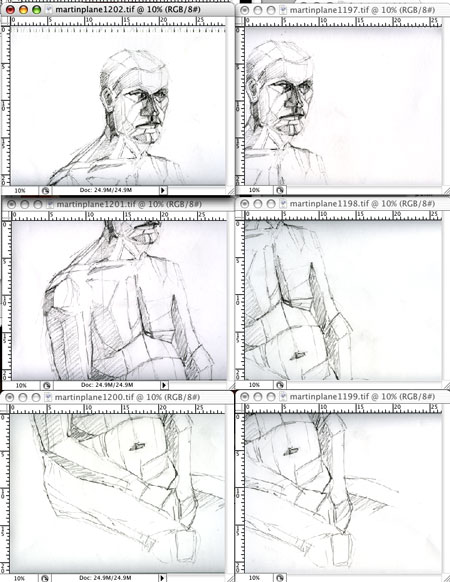
First scan your image in as many overlapping scans (all at the same scale) as necessary to scan the whole picture.

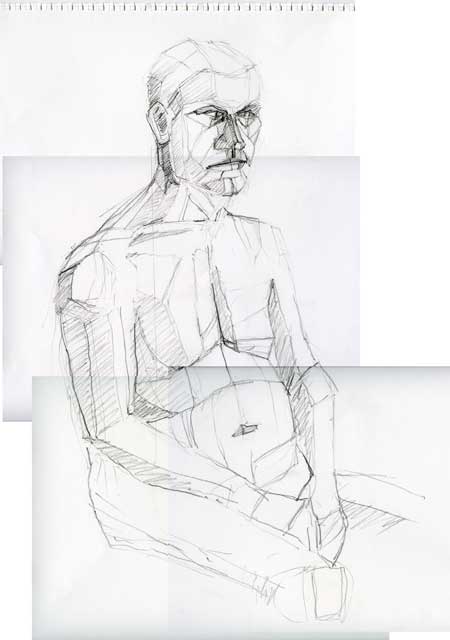
Then patch together your scans in Photoshop or other photo manipulation software (the Gimp is free software you can download) to make the whole picture (using transparency on the layers to check that each piece overlaps correctly). You may need to slightly rotate some of the patches to ensure they overlap correctly.
Once it all fits correctly, change the transparency on all the layers back to 100% and use the eraser tool to gently rub away the hard edges on each layer.
Finally use curves, levels, brightness and contrast, hue and saturation or whatever you want to improve the appearance of your picture.
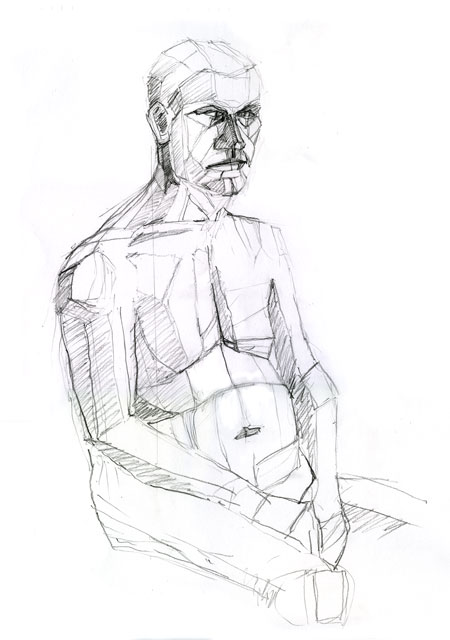
Flatten the picture, and save for web to post for all to see.

Or say ‘Sod it, nothing is worth that palaver’ and get out your digital camera.


5 Comments:
One little hint from my experience: Don't rotate the physical piece as you scan it. In other words if you scan the top of the piece in a top to bottom direction, don't position the bottom of the piece so that it is scanned left to right. Scanners have a tendency to stretch your scan just slightly and you might not be able to stitch your pieces back together perfectly if one piece is stretched on a different axis than another.
LOL, I think I'm too impatient to do this Julie, so I'll stick to my bad digital photos. I like your drawing though - very cubist. :o)
Cully, I haven't come across that problem as I always scan all of the 'tiles' in the same direction - very useful tip, however, thanks.
Terri the graphic designer in me can't bear for the picture on the web to be significantly worse than the original. But it does take a lot of time!
Thank you very much!
I really needed to know how to do this,your info is a big help
I will try this, I have an old picture bigger than my scanner.
Post a Comment
<< Home